Taking photos and videos in a High Dynamic Range format is now a feature of many of the latest flagship smartphones. HDR video formats have been standardized to some extent as HDR10, HDR10+, Dolby Vision, and HDR Vivid. That’s not the case with HDR photos. One trend that seems to be emerging from the latest flagship releases is that smartphone makers are creating their own HDR ecosystems with proprietary HDR photo formats. In order to reap the visual benefits of HDR, still images not only need to be taken with a brand’s device but also viewed on the same brand’s display. This means that one brand’s HDR photo will not look the same on another brand’s device, even if it, too, is an HDR display. These compatibility issues can be quite confusing for general consumers, who might expect HDR pictures from their smartphone cameras to look the same across different brands’ devices.
In this Decodes article, we will venture into the realm of High Dynamic Range (HDR) images, a domain that encompasses both the capture and display of a wide range of brightness and colors. Although HDR technology has traditionally focused on capturing images, recent innovations primarily concern how these images are displayed. HDR displays and formats have long been established in the cinema and video industry, yet their equivalent has not fully materialized in the domain of still photography. This article will predominantly explore the HDR format within the context of still images. We will discuss newly established standards, delve into the mechanics of gain maps, and provide practical examples to help you understand this technology. Whether you’re a photography enthusiast, tech enthusiast, or simply curious about HDR, this article will give you a solid understanding of these developments with valuable insights into this ever-evolving field.
What is HDR ?
In photography, Dynamic Range (DR) has different definitions depending on what we are talking about. The dynamic range of the scene is the ratio of the highest luminance to the lowest luminance in the field of view of the scene. Dynamic range is usually expressed in stops of light and can vary drastically!
“Stops” are a way of expressing the ratios of luminance in the world of photography. By convention, stops are expressed on a logarithm base 2. For instance:
- 1 stop doubles (or halves) the amount of light
- 10 stops between low lights and bright ones mean a range of 1 to (2 to the power 10) = 1024
Human vision is remarkably adaptive, allowing us to perceive an extensive range of light levels. This unique feature allows us to perceive the world in environments that range from the soft glow of moonlight to the intense brilliance of a sunny day. Our eyes effortlessly adjust to these diverse lighting situations, ensuring that we can discern details in both the darkest and brightest areas of our surroundings. There is no definition of high dynamic range for a scene, but as a general guide, let’s say that a scene with more than 10 stops of dynamic range is considered High Dynamic Range (HDR). Of course, this is only a lower bound, and HDR scenes with more than 20 stops of dynamic range are possible.
Only a part of this dynamic range is captured by the camera. The ability of a camera to capture the dynamic range of the scene depends on many factors: the sensor (which has its own definition of dynamic range), the lens (which may reduce the dynamic range by introducing flare), the acquisition strategies (multiframe exposure bracketing), and the processing of one or multiple captures to reconstruct a representation of the scene. This can involve many complex steps like global and or local corrections, merging frames, denoising images, etc.

Even though a scene has a dynamic range of 12 stops does not mean that the captured 12 stops of HDR will be displayed on a device! In order to view or share a photo, it needs to be rendered. The rendering process will further limit the captured image’s dynamic range. For example, a photo rendered for printing could reduce the 12-stop DR capture to only 6 stops. Computer monitors can do better. A standard LCD display can display up to 8 stops of DR, and for many years the number of luminance levels on a standard monitor was limited to 256 (8-bits max). Consequently, this restriction also influenced image storage formats, such as JPEG, confining them to the same 8-bit range.
As we can see, while we can capture high dynamic range content, the challenge is to fit that expansive range into the constraints of the medium. It requires condensing the vast range of light levels into the narrower range while keeping the perception of contrast. This is called HDR tone mapping.
HDR scene, HDR capture, HDR tone mapping: an example
Smartphone cameras capture HDR images using techniques like exposure bracketing, in which the same scene is captured in different exposures, and multiple frames merging, in which several captured frames are combined to form one image. Many image algorithms are involved and implemented thanks to the help of hardware accelerators called ISP (Image Signal Processing). During this process, images are stored on a very large number of bits (up to 18 bits on the latest ISP!).
With standard dynamic range (SDR) storage format and displays, the vast amount of information collected will be compressed into 8-bit code values, which can not fully represent the complete dynamic range. Consequently, this compression may result in a loss of contrast and detail in the final image. When viewed on an SDR display, only a portion of the scene can be faithfully reproduced, further limiting the ability to showcase the full richness of the moment.
Consider, for instance, an indoor portrait captured near a well-lit window on a sunny day. This everyday scenario is precisely what DXOMARK’s HDR portrait setup is designed to replicate. In such a scene, some regions span a wide spectrum of real-world light levels.

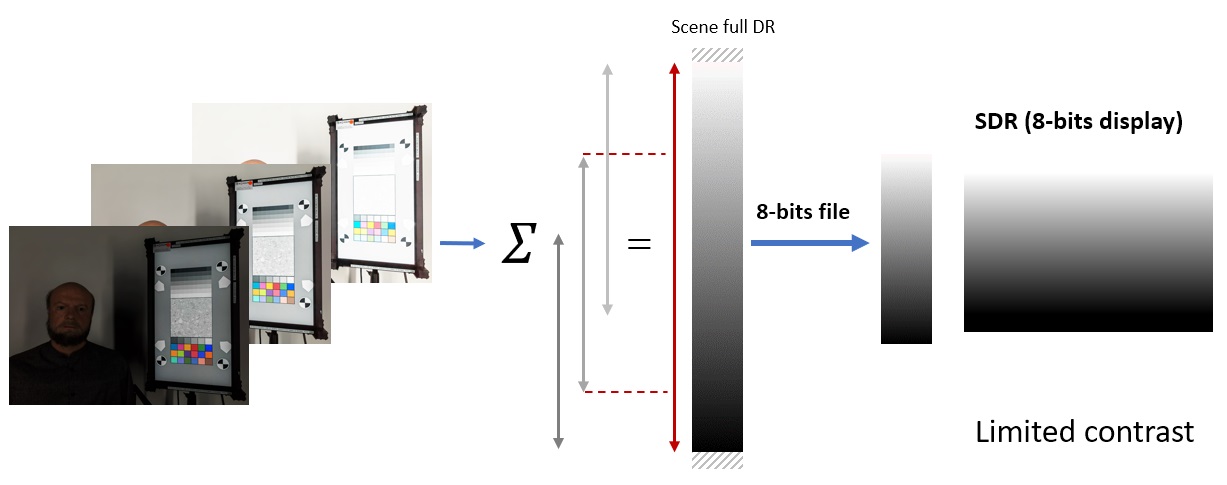
Smartphone cameras often employ the concept of multi-exposure bracketing to capture a wide range of visual information. When this image is encoded in 8 bits and displayed on SDR monitors, it results in a reduction of dynamic range compared to the original scene’s dynamic range.
HDR displays, HDR Format, HDR Ecosystem
With the introduction of different technologies, such as OLED, or local dimming for LCDs, the screen dynamic range has increased. The brightest pixel can go very bright, while the darkest one (if no reflection occurs on your screen) can go very low. The measure of display luminance is expressed in candelas per square meter (cd/m²), which is sometimes referred to by its non-SI name, nits. In the past, a typical display could achieve a maximum luminance of about 200 cd/m² (nits). Today, some advanced monitors can support 1000 cd/m² (nits) across their entire screen, with peak luminance reaching up to 2000 cd/m² (nits) This is a significant increase in brightness compared to traditional displays.
These displays are designated as “HDR” because their high peak luminance and ability to preserve deep blacks allow them to deliver a much wider range of luminance than ever before. The range of colors that can be displayed also improved. This large dynamic and color range cannot be exploited successfully with only 8 bits of data in input. To avoid artifacts such as banding and quantization, manufacturers require input data to be stored on 10 bits.
Computer display manufacturers have agreed through the Video Electronics Standards Association (VESA) to define some HDR performance levels. Within the DisplayHDR-500 category, an “HDR” display must fulfill some constraints such as 500+ cd/m² of peak luminance, at least 11.6 stops of contrast on a white/dark checkerboard, 10-bit inputs, and at least 8 bits of internal processing with some higher frame rate to simulate the two last bits (technically 8+2 FRC).
The 10-bit input is one of the reasons why to fully benefit from the performance of the display, one needs to define new image formats, known as HDR Photo formats. These file formats contains 10 bits of data, but also some side data (aka metadata) to help the playback system interpret correctly the content to be displayed, knowing the characteristics of the screen.
HDR video can be delivered using different Electro-Optical Transfer Functions (EOTFs), color primaries and metadata type. These different EOTFs, color primaries or metadata are standardized and published as recommendations by organizations such as SMPTE and ITU. For example, the Perceptual Quantizer (PQ) EOTF is standardized by SMPTE in ST-2084 as well as by ITU in Rec. 2100, HLG as a transfer function is standardized by ITU in Rec. 2100. The color primaries and viewing conditions are also standardized by the ITU in Rec. 2100 and Rec. 2020.
Using these recommendations, there are different HDR formats in which video contents are encoded and delivered. HDR10+, Dolby Vision, HDR Vivid, etc. are all different HDR formats that use dynamic metadata (SMPTE ST 2094) where the entire video uses the metadata on a scene-by-scene basis, trying to preserve the artistic intent to the greatest extent. HDR10 uses static metadata (SMPTE 2086), thus the same metadata is used for each frame of the video. HLG (based on the HLG EOTF) is another HDR format that has no metadata requirements but is backward compatible with SDR content.
So the display is only one piece of the puzzle. To fully enjoy a scene’s high dynamic range, you need a whole HDR ecosystem: a camera that is capable of capturing and encoding the wide dynamic of a scene; a photo format file that can store it; a display that can restitute a wide range of luminance and colors; and a playback system that can support both the HDR format and the HDR display.
On a side note, the viewing environment is also a limiting factor to fully enjoy the HDR experience. In particular, the environment is driving the human eye adaptation, therefore changing our perception of dark and bright levels. This is the reason why grading studios use strictly standardized lighting conditions when using HDR monitors. Smartphones also propose HDR displays, but the viewing environment is much less controlled. The adaptation of the smartphone display remains to this day one of the main challenges for HDR, as we shall see in a future article.
The HDR Experience
What can we expect from the HDR experience in photography? Potentially brighter images, more pronounced contrast, more realistic colors, but also the capacity to encompass a much larger portion of the scene’s luminance range without sacrificing contrast, which occurs when we are limited to 8-bit storage and displays. In practical terms, this means that with HDR we can illuminate parts of the scene beyond the capability of even the brightest SDR representation. This expanded range in HDR displays is commonly referred to as “headroom” and requires the definition of a “reference white.”
In the world of visual displays, a reference white is like a standard benchmark for brightness, and it serves as the foundation for all other colors. The white background of this web page (provided you are in non-dark mode) is the reference white of the screen.
There’s a common misconception about HDR, often reduced to the idea that it’s all about making screens brighter to replicate the brightest whites more faithfully. While there’s some truth to this notion, it oversimplifies the concept of HDR and what these “brightest whites” truly represent. In reality, HDR goes beyond mere brightness enhancement; it’s about preserving intricate details and contrast, especially in highlights.
Regardless of the specific HDR standard in use, a fundamental goal is to extend the displayed dynamic range. Conventional displays have faced challenges when it comes to rendering details, particularly in highlights. On a standard display, the reference white adheres to specifications at 100 cd/m². It might be logical to assume that on a good HDR display, this reference white would shine at well over 1000 cd/m², given the focus on brightness.
However, this assumption isn’t entirely accurate and underscores a critical aspect of current HDR technology. In HDR, the reference white level remains about as bright as it does on a standard display, and it is set to 203 cd/m²by the current ITU standard [1]. The HDR standard is indeed engineered to handle highlight details far more effectively. Think about your surroundings: Even in bright sunlight, a plain white piece of paper on your desk isn’t as radiant as the sun or the gleaming specular highlights from polished metal surfaces. HDR’s true strength lies in faithfully replicating these variations in brightness and the intricate details they hold.
In essence, the average brightness of elements like human faces and ambient room lighting in HDR, when skillfully graded, doesn’t significantly differ from what we experience in SDR. What sets HDR apart is the significant headroom it provides for those brighter areas of the image, exceeding the conventional 100 cd/m² level. This expanded headroom offers creative freedom during the grading process, bringing out the textures of sunlight-dappled seawater or the intricacies of textured metals like copper with a heightened sense of realism. Furthermore, it enables the portrayal of bright light falling on a human face without compromising skin detail or color, ushering in new creative possibilities for visual storytelling.
This expanded range allows tones and colors to have more space to express themselves, resulting in brighter highlights, deeper shadows, enhanced tonal distinctions, and more vibrant colors. The outcome is that photos optimized for HDR displays deliver a heightened impact and a heightened sense of depth and realism, making the visual experience far more immersive and captivating. However, the appearance of HDR content is susceptible to variations across different devices, owing to the diverse capabilities of HDR displays and the distinct tone mapping methods employed by various software and platforms.
The gain map solution
The wide variation in display capabilities inherently poses challenges for HDR content creators, as it complicates the control or prediction of how their images will be rendered on different devices. To tackle this issue, smartphone industry OEMs have implemented several solutions based on the “gain map” concept. This method offers a practical way to ensure consistent and adaptable HDR image display. It cleverly incorporates both SDR and HDR renditions within a single image file, allowing for dynamic transitions between the two during display.
What do these new image files contain?
Recalling the luminance scale, typical SDR images, define black and white as 0.2 and 100 cd/m², respectively. In contrast, HDR images define black and a default reference white as 0.0005 and 203 cd/m², respectively, signifying that everything above 203 cd/m² is considered headroom.
The gain map essentially serves as the quotient of these two renditions. The image file contains an SDR or HDR base rendition, the gain map, and associated metadata. When displayed, the base image is harmoniously combined with a proportionally scaled version of the Gain Map. The scaling factor is determined by the image’s metadata and the specific HDR capabilities of the display. To optimize storage efficiency, gain maps can be down-sampled and compressed, ensuring that they seamlessly enhance the viewing experience across various platforms and devices.
In 2020, Apple pioneered the use of gain maps with the HEIC image format. The iPhone images have incorporated additional data that enables the reconstruction of an HDR representation from the original SDR image. This approach has now been standardized in the iOS 17 release [2].
Google, with the Android 14 release also implements a gain map method called Ultra HDR [3], while the gain map specification published by Adobe [4], provides a formal description of the gain map approach for storing, displaying, and tone mapping HDR images.
For our readers who do not have access to an HDR display and an image viewer that supports it, let’s try to simulate the effect of the gain map on some images.
Consider this 8-bit image of a person sitting in front of a window:
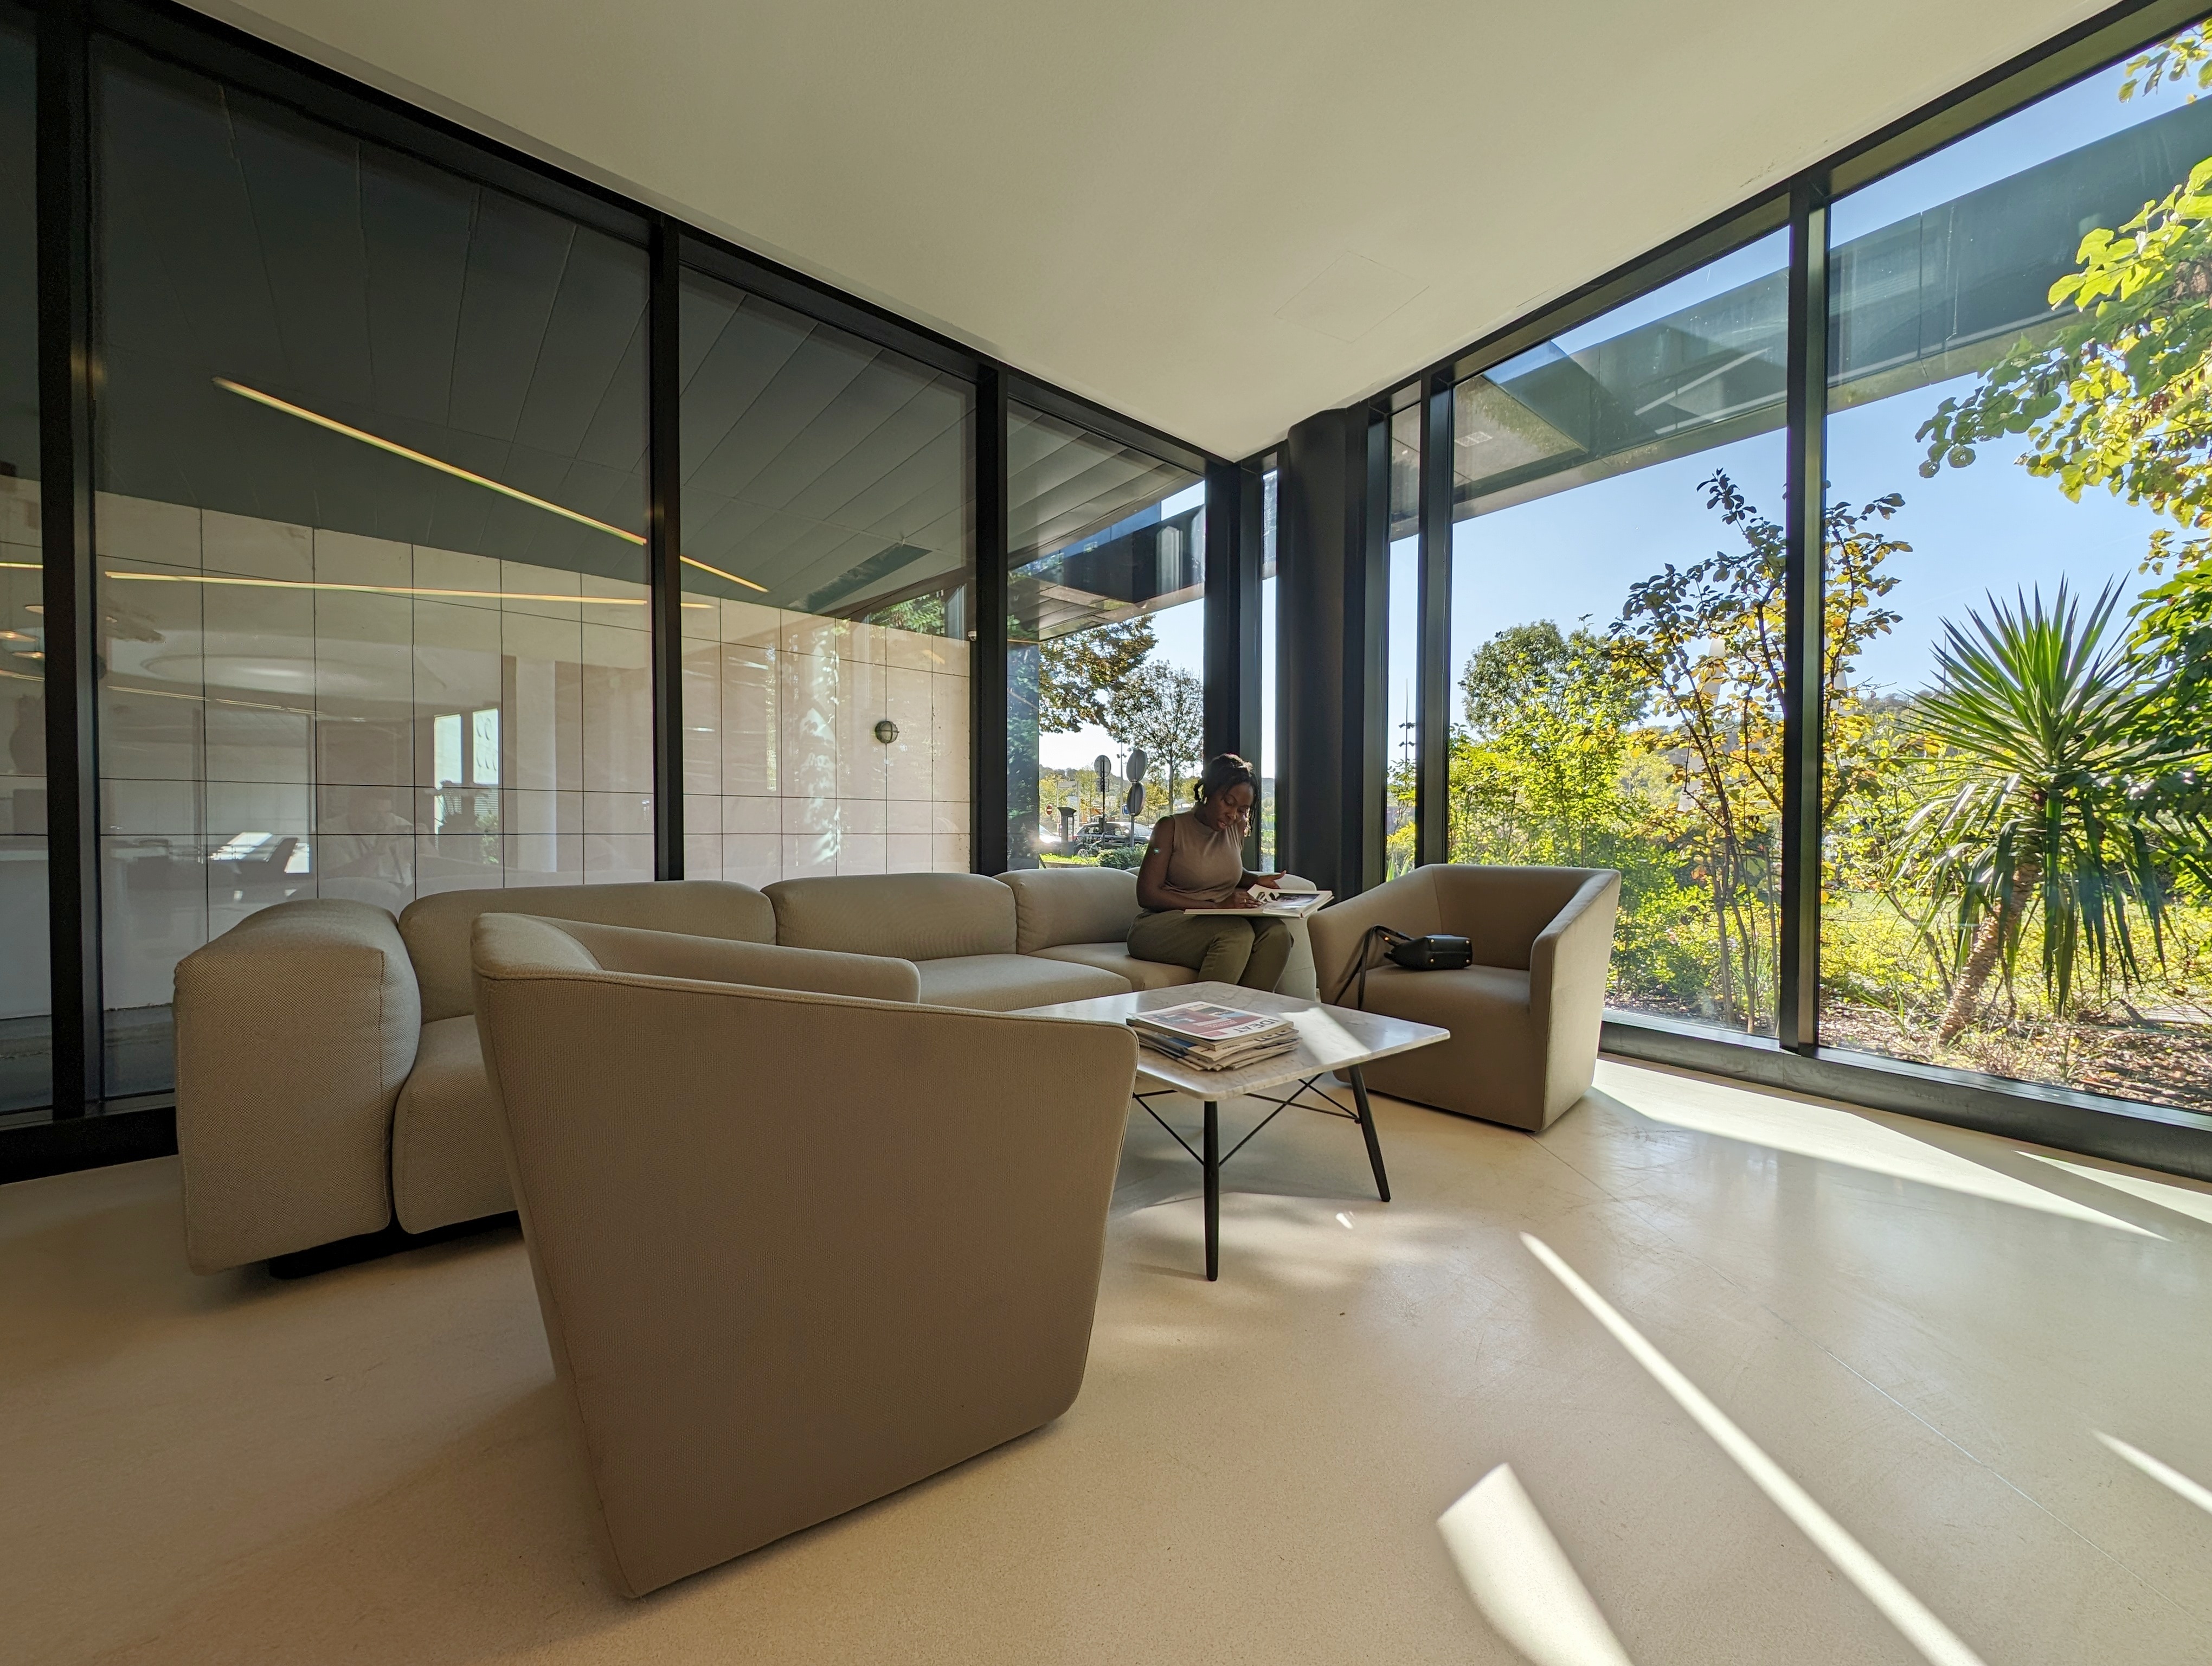
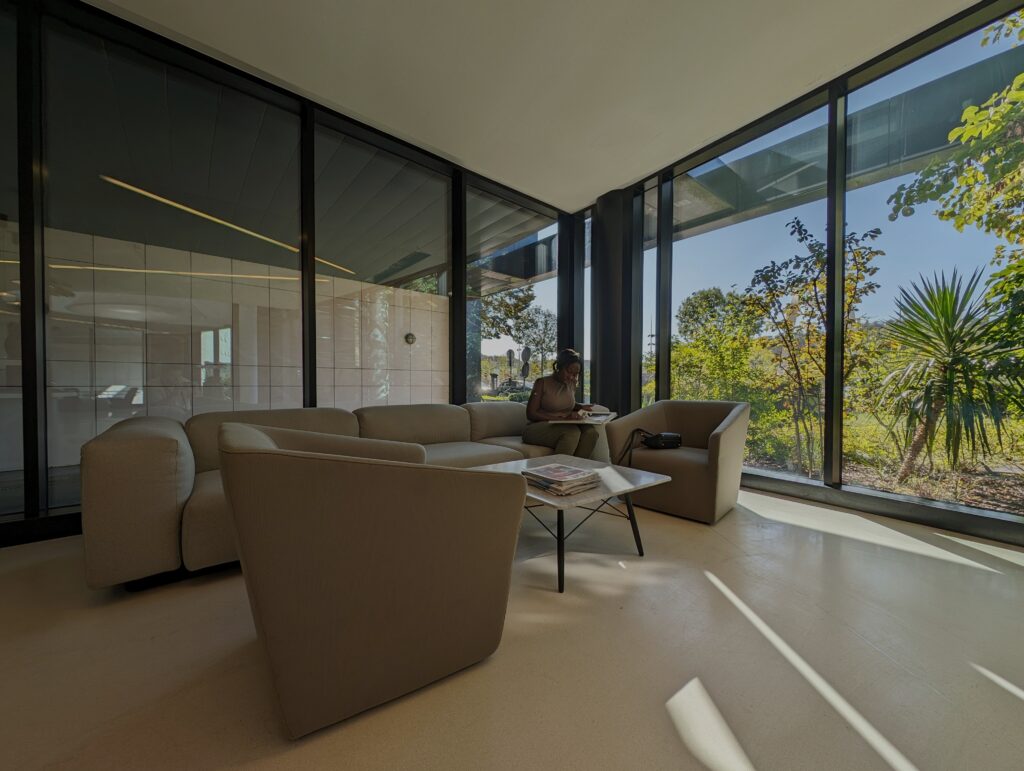
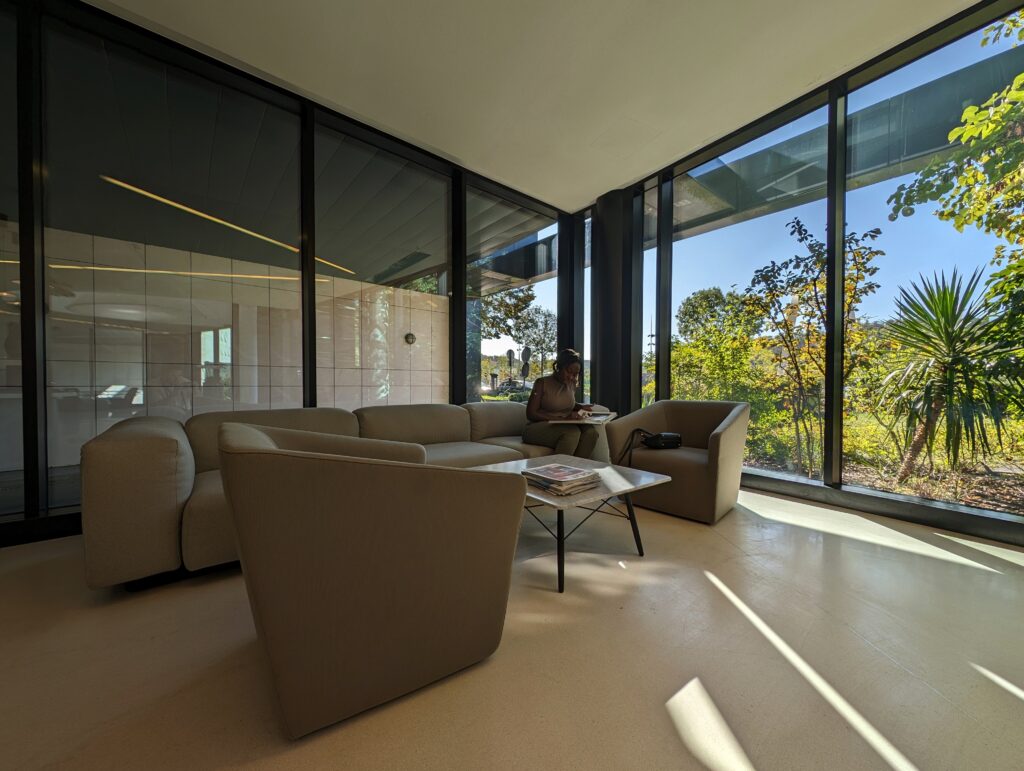
The image displays well when the wall’s white paint is just below the reference white. However, any brighter elements, such as the window, tend to be compressed or rolled off. When examining the gain map image embedded within the 8-bit file, it becomes evident that this file functions as a mask. It identifies the areas of the image that will be enhanced when viewed on an HDR monitor.
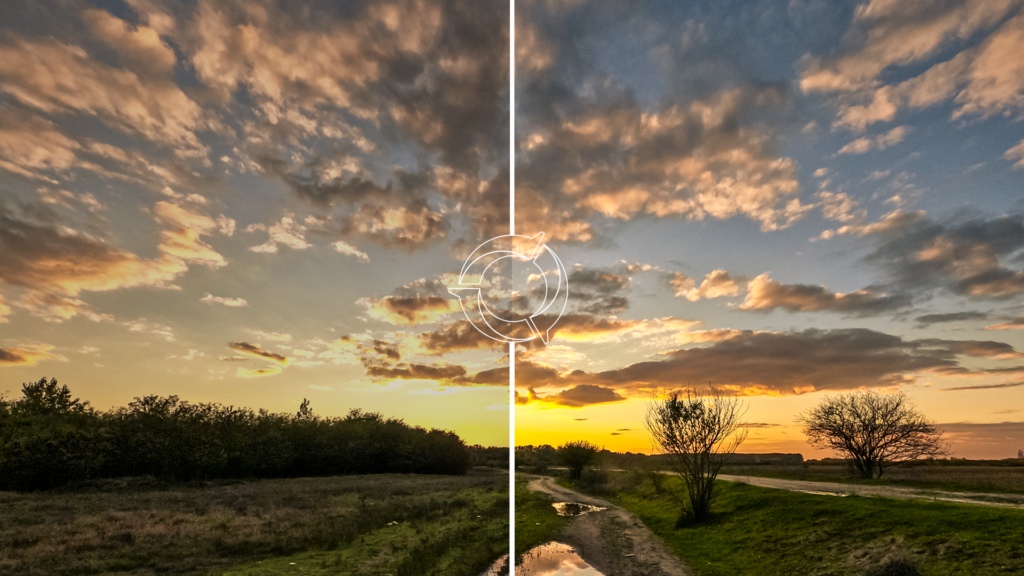
As a result, the image displayed on an HDR monitor will look more realistic and detailed than the image displayed on a traditional monitor. Here is an illustrative animation, designed to be seen on SDR displays, of the image enhancement when transitioning from SDR to HDR display. Beware, this is only a simulation! The transition between an SDR image and an HDR image on an HDR display with a proper setup would be more impressive!
The advantages of HDR format truly shine when the content captured by the camera spans a broad dynamic range of light levels. Take, for example, this image of a night portrait. The scene has a wide range of light levels, from the bright spotlights in the background to the dark night sky. The model’s face is also lit by artificial lights, creating a high contrast with the surroundings. This high-contrast scene creates a visually stunning effect when viewed on an HDR display. The following animation illustrates the improvements in colors and lightness contrast when transitioning from SDR to HDR visualization.


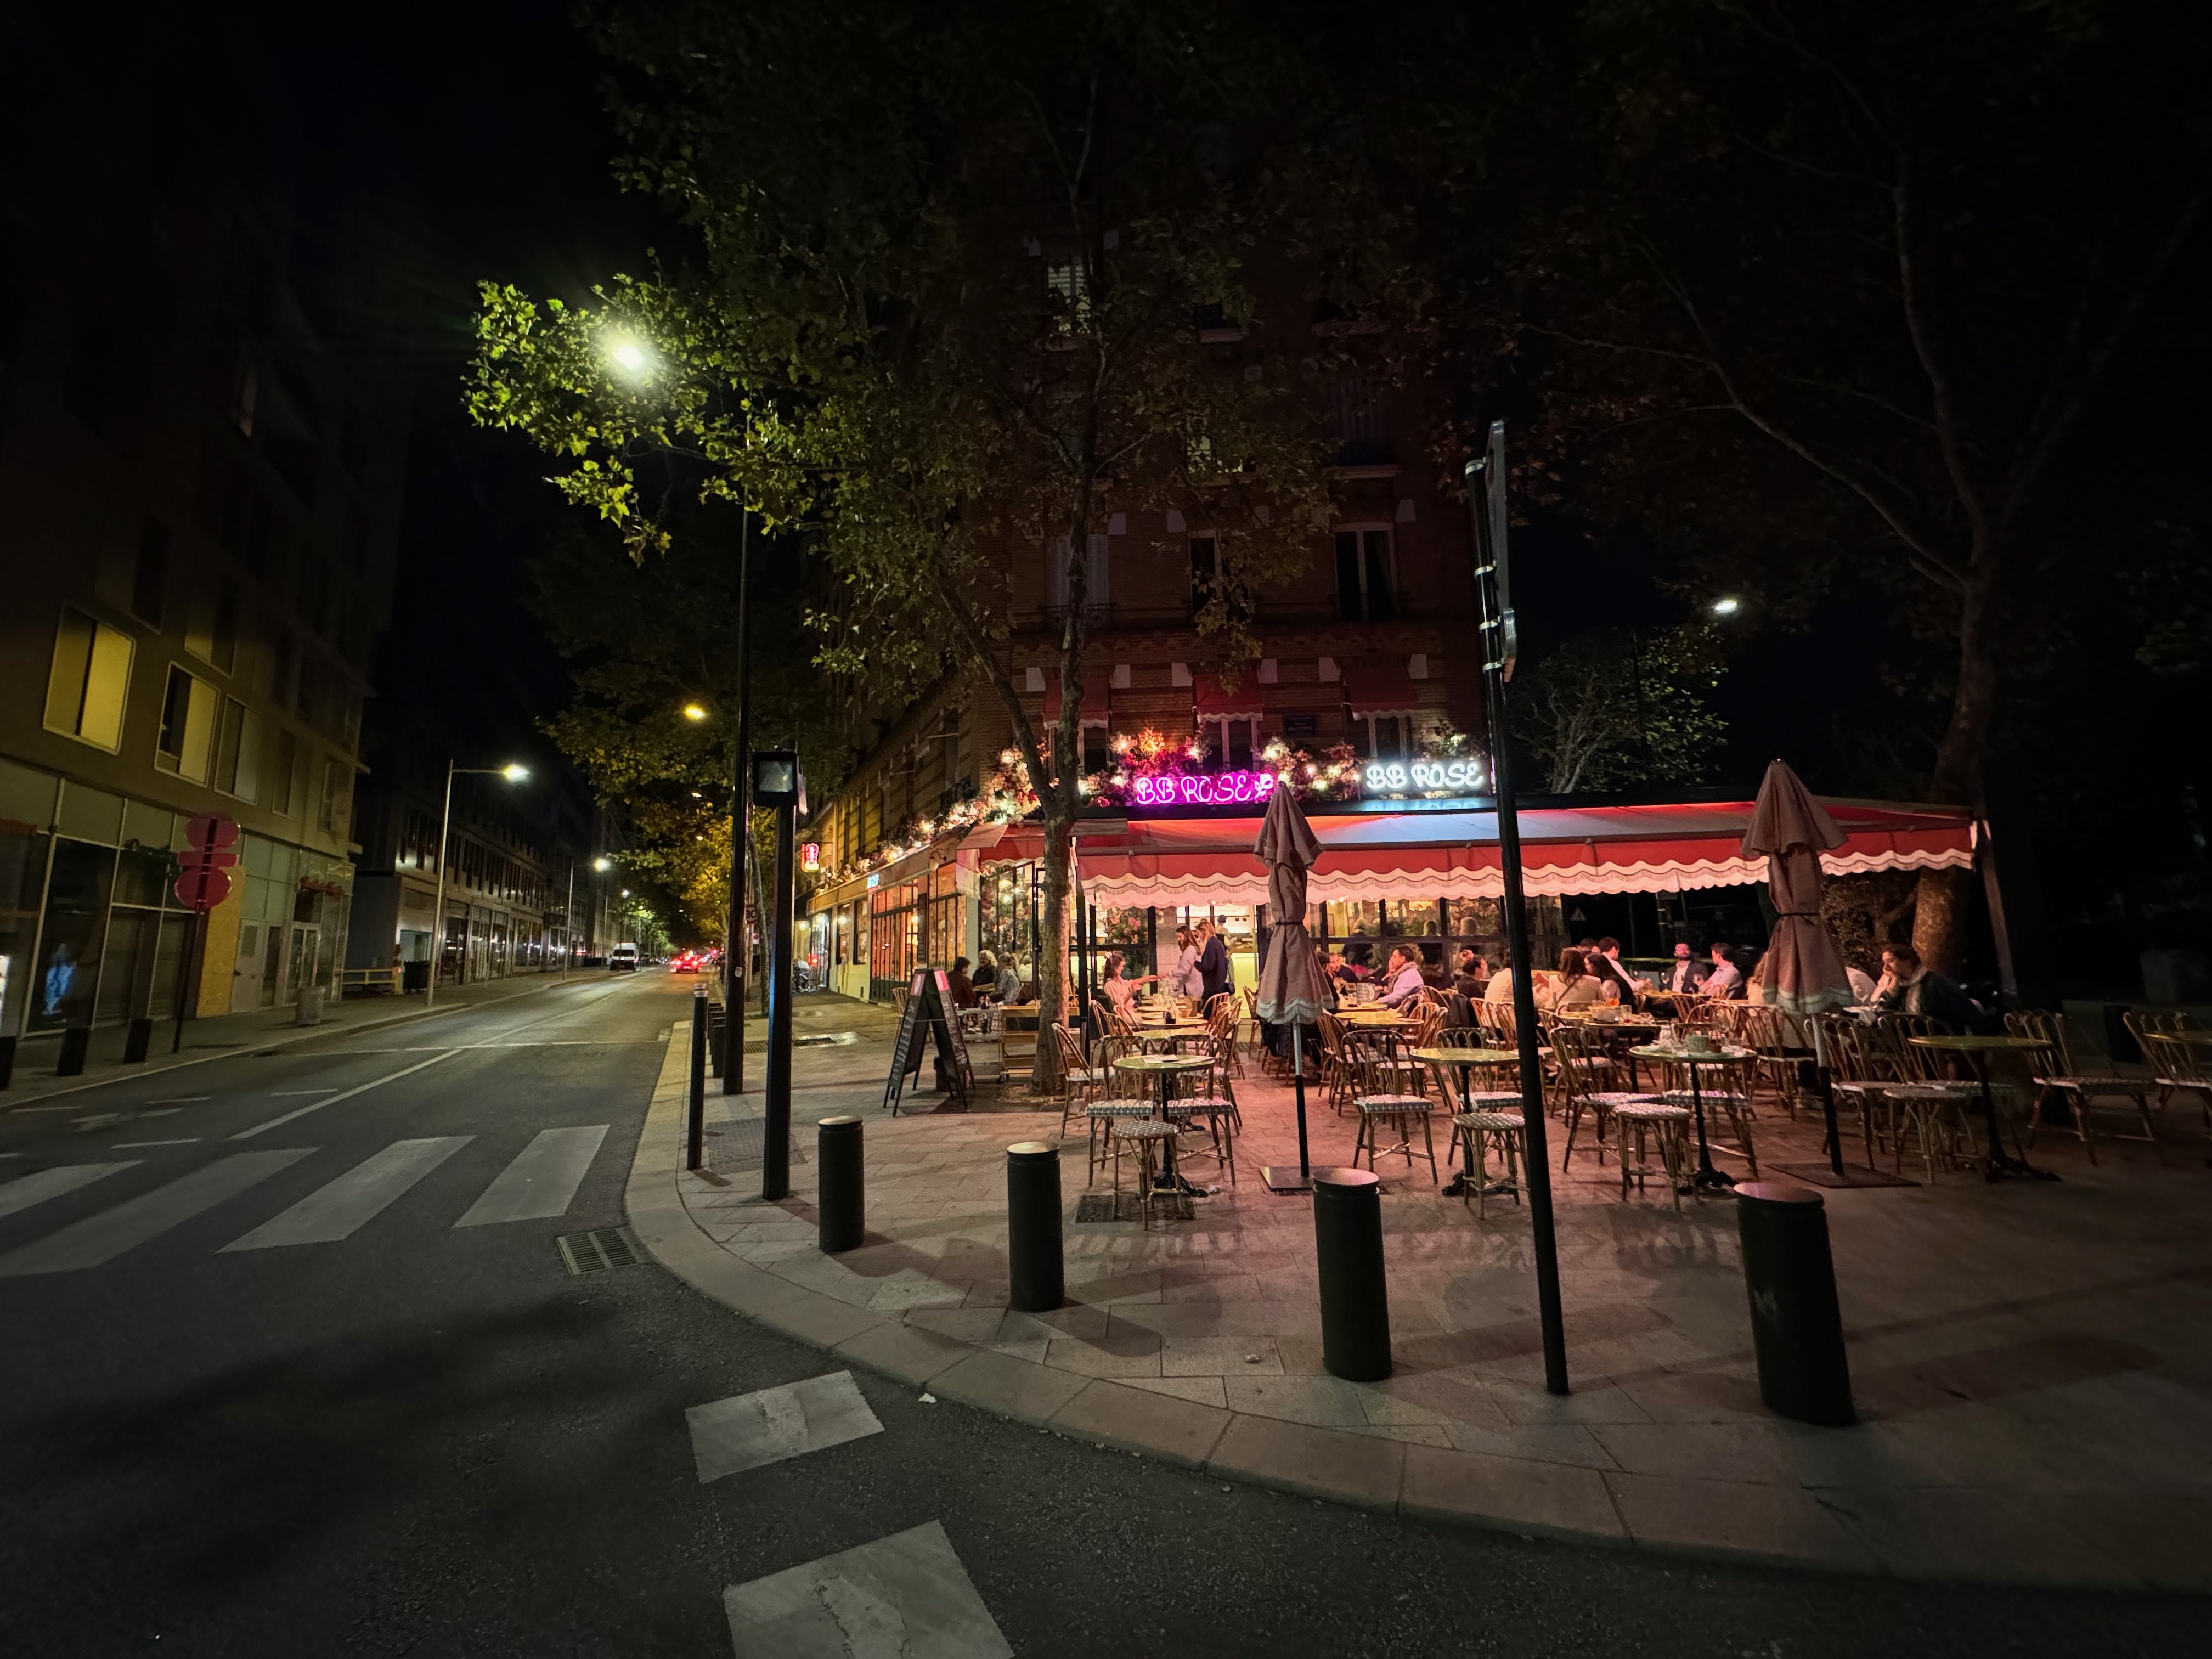
Below are some images captured with the Google Pixel 8 Pro, encoded in the Ultra HDR format, and with the Apple iPhone 15 Pro Max. To fully appreciate these images in HDR, we recommend the following:
- Use a macOS (Sonoma version is recommended) or Windows system.
- View in Google Chrome (version 116 or later) or Microsoft Edge (version 117 or later).
- Utilize an HDR display that supports brightness of 1000 cd/m² or more.
Please note that HDR photos may not display correctly on other browsers and platforms. If you’re viewing from a mobile device, you might need to switch to desktop mode in your browser. Unfortunately, as of our current understanding, there is no web browser that currently supports Apple Gain Map images. To fully appreciate iPhone HDR pictures; therefore a recommended approach is to download them and view them either in the iOS Photo App or the macOS Photo App.
For optimal viewing, we recommend the following displays:
- Recent premium or ultra-premium smartphones.
- Apple XDR displays, such as those on a MacBook Pro (2021 or later).
- Any display that is VESA-certified as DisplayHDR 1000 or DisplayHDR 1400.
Enjoy the vivid and lifelike colors that HDR imaging has to offer!


[2] Applying Apple HDR effect to your photos


DXOMARK encourages its readers to share comments on the articles. To read or post comments, Disqus cookies are required. Change your Cookies Preferences and read more about our Comment Policy.